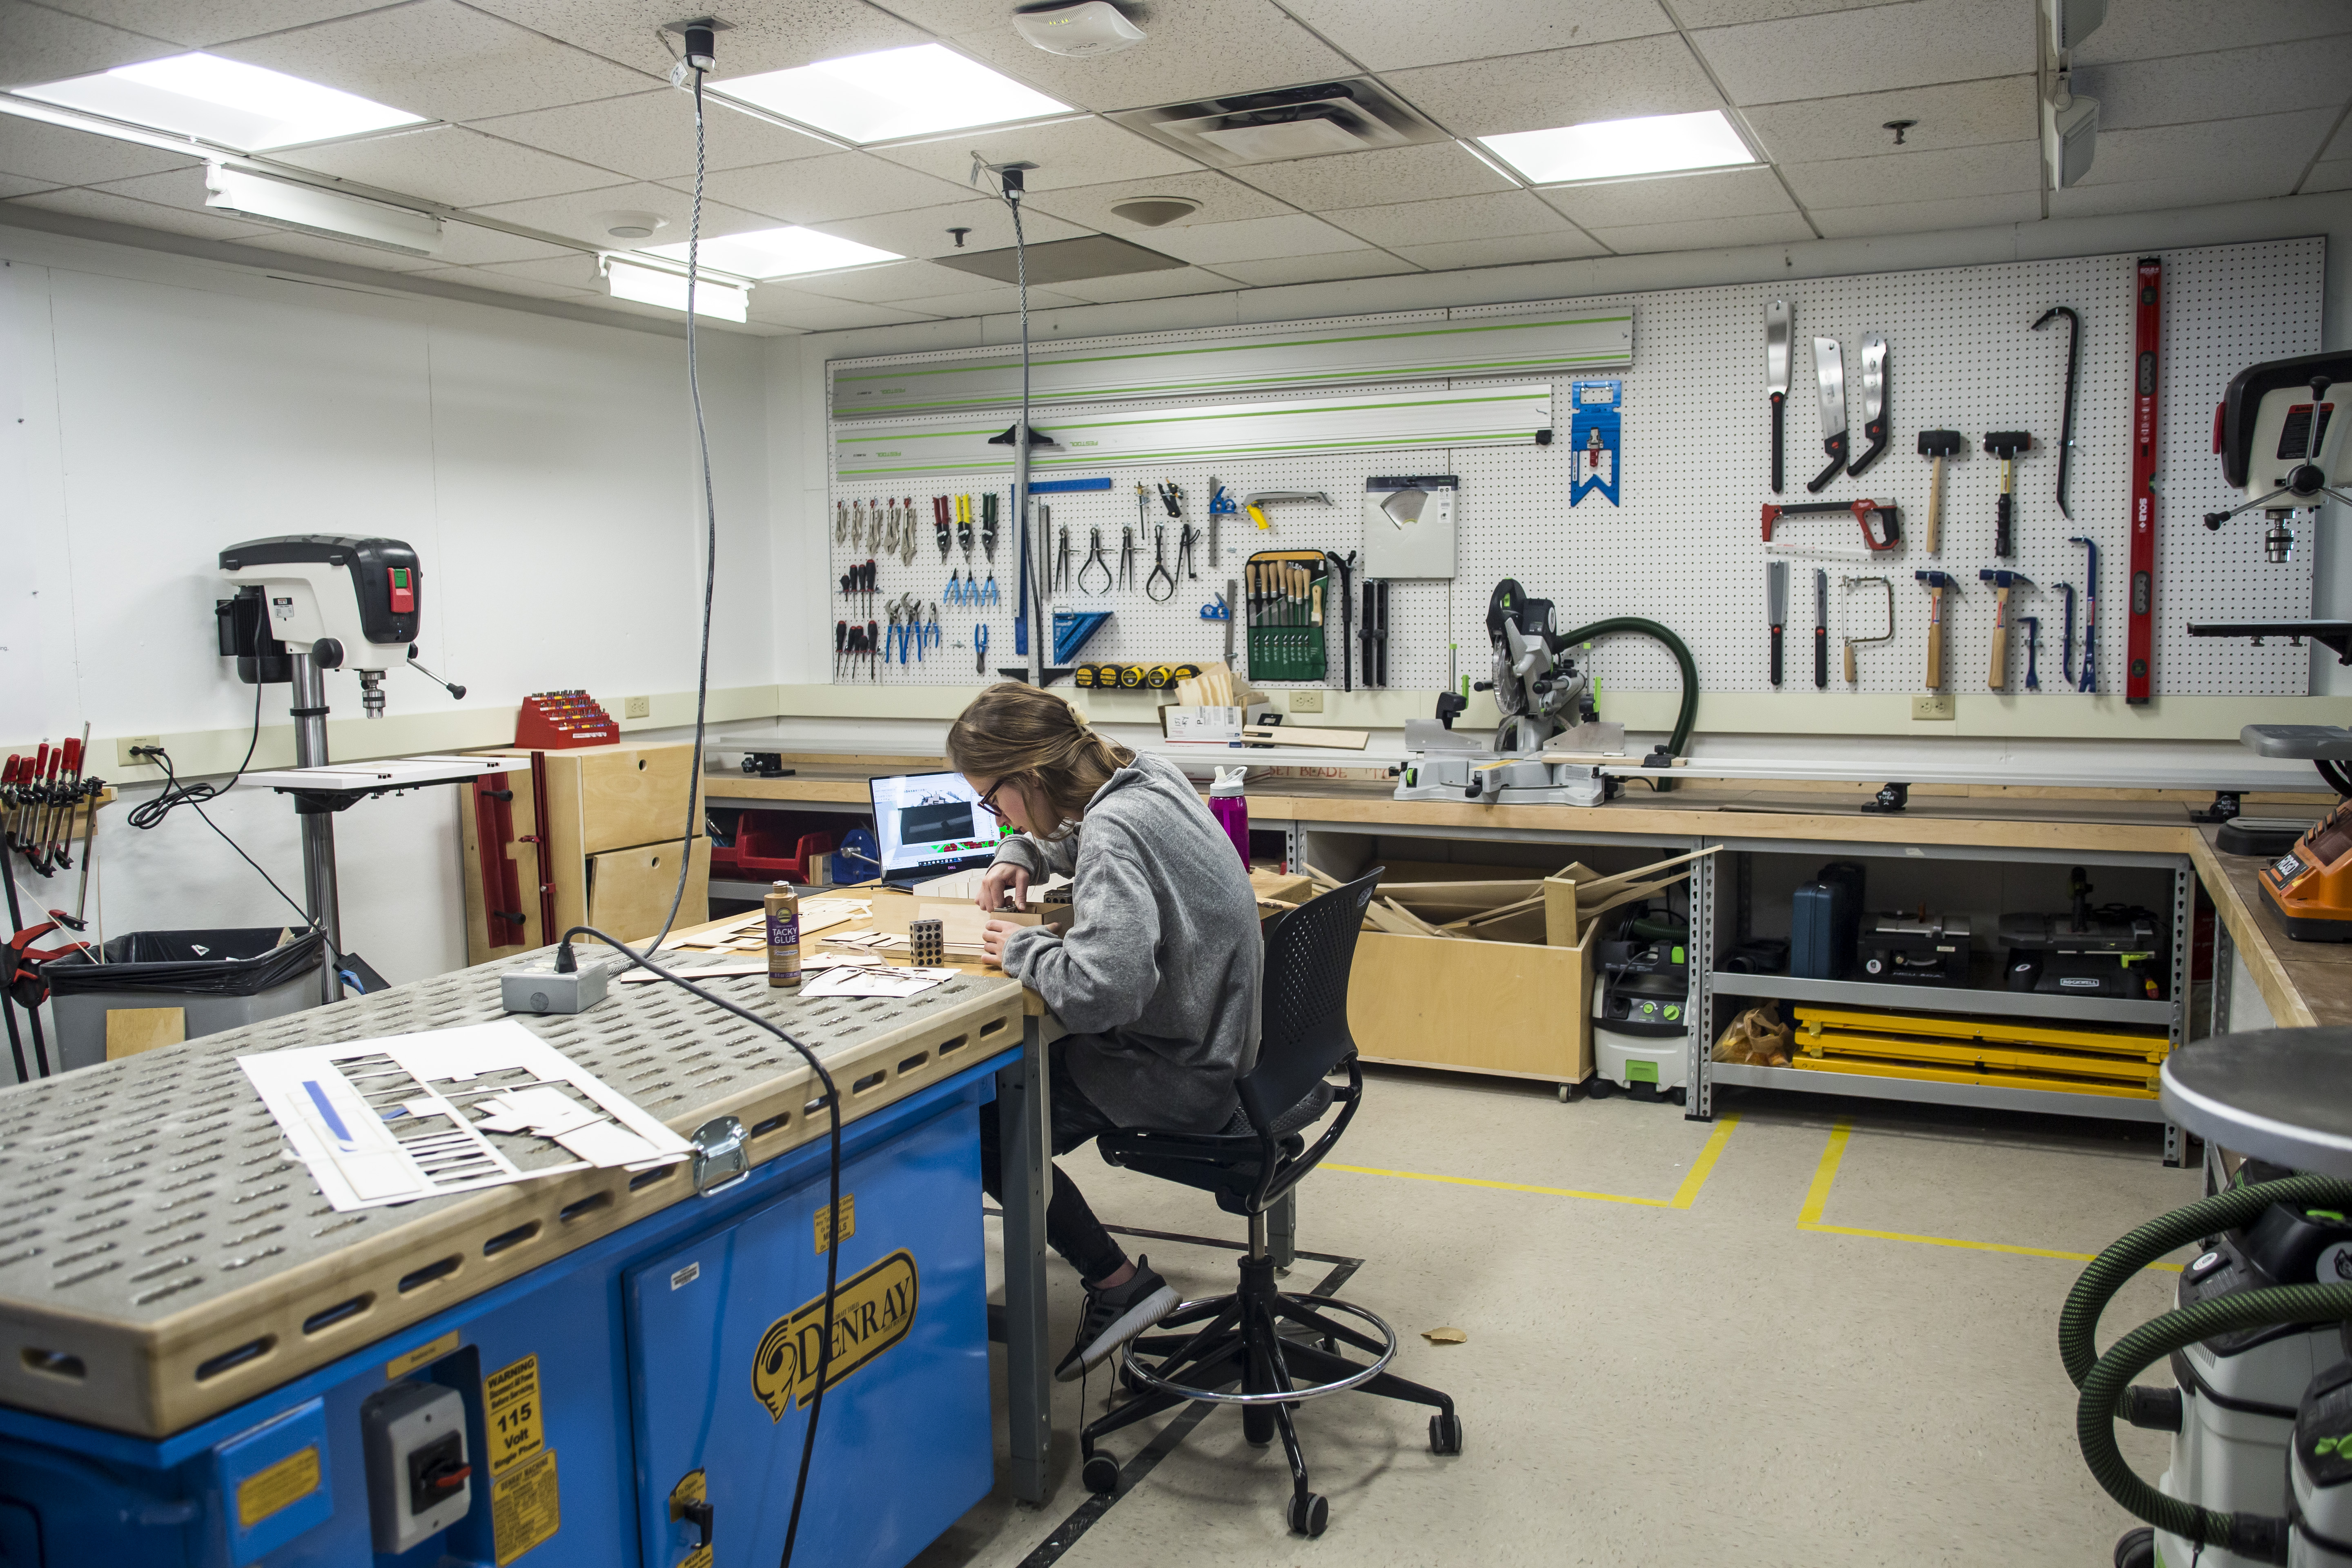
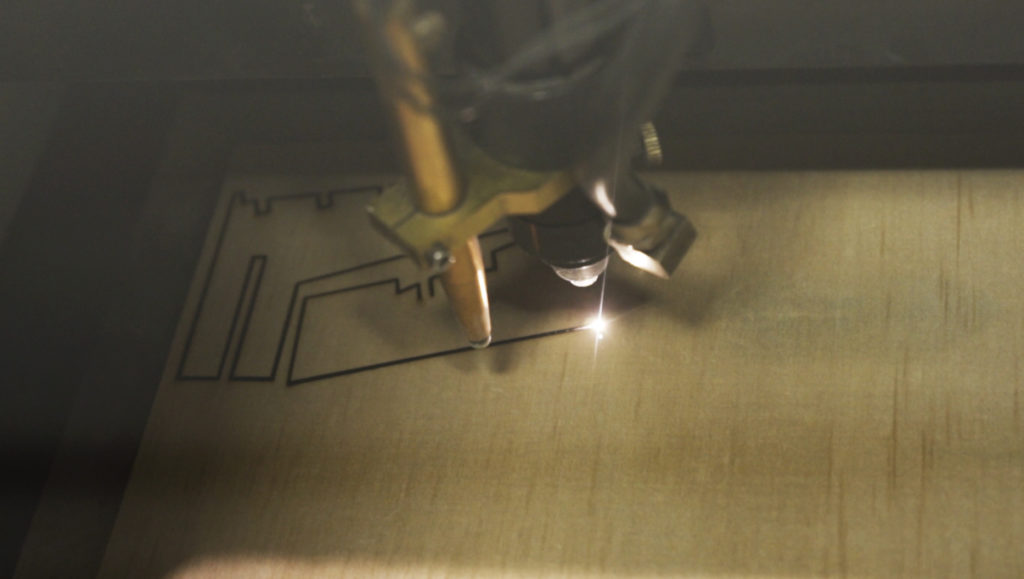
The School of Architecture has four Universal laser cutters for student use. The laser cutters are in the Laser Lab located in the Ruggles Architecture studio. Each laser cutter is paired with a Dell computer that runs the necessary software for laser cutters.
Laser Cutter Sign Up
Students may schedule appointments via Supersass.
The schedule will be open for appointments twice a week on Mondays and Thursdays at 9:30 AM.
An appointment can be 1 slot = 30min / 2 slots = 60min / or 3 slots = 90 min at a time.
Students are limited to 6 time slots per 7 day period for a maximum of 180 min or 3 hours.
However, time slots are available and up for grabs if the schedule is open and no appointment is scheduled during a monitor’s shift.
If you run out of time If you are unable to finish during your session you may continue cutting into the next time slot unless another student is waiting and/or has made an appointment. In this case you may schedule another session later in the day/week if one is available. If you are unable to finish during your session you may continue cutting into the next time slot unless another student is waiting and/or has made an appointment. In this case you may schedule another session later in the day/week if one is available. Students who need additional time or for those students who were unable to schedule time due to high demand, should monitor the schedule to catch newly available slots (and be resourceful)
File Exchange NEU
Template Monitors only accept files that use the NEU_LASER TEMPLATE.dwg file. The laser will not recognize self made files.
Download
Rename the file: Your Name_NEU_LASER TEMPLATE.
USB Drive Save the file you wish to use to a USB flash drive and bring it with you to your appointment along with your precut material and masking tape
(for parts that may fall out once removed from the laser bed). Monitors only accept files from students on USB drives.
The 2 Strike Policy
Those students scheduled to cut who miss their appointment and do not cancel within a reasonable time before their session/exchange their time with another student will be documented by the laser cutter monitor on duty. Each student is allowed one offense per semester.
On the second offense that student will be banned from using the laser cutter for 12 weeks. Appointments will be held for up to 15 minutes (to the monitor’s discretion).
The 2 Strike Policy is in place to dissuade those students who intentionally or unintentionally monopolize or abuse the online sign-up system. Students who need additional time or those who were unable to schedule appoints should monitor the schedule to catch newly available slots.
A Laser Monitor must be present IN THE ROOM when you are cutting. Any student caught using the laser cutter without a Laser Monitor present will be banned from using the laser cutter. Any monitor who opens the room allowing students to freely cut unsupervised, will also be dismissed and banned from the laser cutter.
Download Laser File Prep Instructions
Acceptable Materials
Cut larger sheet material down to 17 3/4” x 31 3/4” so that they fit easily within the laser bed. Boards may not exceed the Laser Bed Dimensions of 18” x 32” (Blick can cut them for you at the time of purchase for an additional fee) Materials will warp if they sit out so keep them flat underneath heavy objects. Warped boards prevent the laser from cutting through the material accurately. Boards even slightly larger than 18”x32” will bow in the bed and distort the capacity of the laser to cut cleanly. Monitors are not responsible for material left out, or for holding material for students. Monitors are required to maintain the laser cutter space. Material will be discarded at the end of the day.
Acceptable Materials | Prohibited Materials | ||
Chipboard: | 1/32” .03125 | Foamcore | |
Chipboard: | 1/16” .0625 | Plexiglass | |
Bainbridge: | 1/16” .0625 | Acrylic | |
Museum Board: | 1/16” .0625 | 1/8” Chip Board | |
Cardboard: | 1/8” .125 | ||
Basswood: | 1/16” .0625 | ||
Basswood: | 1/8” .125 |
NEU_Laster Template.dmg Only
Only use the NEU_LASER TEMPLATE.dwg Downloaded from the school website at Link
Convert linework from other programs such as Rhino to Cad and then copy it into the template. Within the template, copy as many artboards as needed in model space, and then copy + paste your linework into the NEU_LASER TEMPLATE. Rename the file: Your Name_NEU_LASER TEMPLATE. Keep line work as joined POLYLINES with a 0.0 mm thickness. Why? The laser stops and starts at the beginning and end of a line segment and ONLY PRINTS 0.0 mm lines. REMOVE DOUBLE/EXTRA LINES. Why? The laser cuts every line, and will recut the same path multiple times if there are multiple lines on the same path -thereby extending the time it takes to cut your boards, as the laser will cut. All line work must fit within the Art Board and its 1/4” Margin. Use the OVERKILL Command in AutoCad to delete any double lines, as the laser cutter will cut them twice.
Red……………CUT | Place line work in this layer if you want to cut through the material. |
Blue…………..SCORE | Place line work in this layer to apply a finer grain surface detail line work or to aid with creases and folds. The laser will not penetrate the material. |
Magenta…….ART BOARD | The provided art board represents your 18” x 32” trimmed material. Copy and paste this as many times as needed within the laser template file. The laser does not cut, score, or burn on this layer. |
Scaling Your Line Work
Only AutoCAD files are accepted. Students should only copy and paste line work that needs to be cut into the NEU Laser Template. Scale work to fit within the limits of the laser bed to both conserve material and ensure that your drawing is not truncated (cut off because it doesn’t fit within the artboards dashed margin, and/or is not scaled correctly). Note: A very simple way to do this is to draw a rectangle in model space that translates the size of the laser bed to the scale you desire. NOTE That the minimum dimension that the laser cuts depends on the thickness of the material you are using. For extra fine laser work, we suggest you test the settings prior to final cut. When planning for a laser cut model, you know its pieces must fit within the Laser Cutter’s bed and therefore you must choose an appropriate scale. In Model Space use the Laser Cutter Bed size of 18” x 32” and multiply 18 and 32 by the scale you desire.
At a 1/4” = 1’ scale: Multiply 18 x 4 = 72 Multiply 32 x 4 = 128
This will produce a rectangle that is 72’ x 128’ in model space. Any portion of your drawing that fits into this rectangle will be at 1/4” scale. Once you’ve compiled your draft art boards, copy them to the NEU Laser Template and scale down to 18” x 32”
At 1:200 scale:
Multiply 18 x 200 = 3600
Multiply 32 x 200 = 6400
This will produce a rectangle that is 3600’ x 6400’ in model space. Any portion of your drawing that fits into this rectangle will be at 1:200 scale. Once you’ve compiled your draft art boards, copy them to the NEU Laser Template and scale down to 18” x 32”
Scaling in AutoCad is simple… Select all the boards, but use one to scale them all. Either with Reference Points or, as you know the desired dimensions, reference one board’s length and input the desired length (from 3600’ to 18”).
Student Rules
- 1. Students should come to their laser cutting session ready to cut. The laser cutter workstation is NOT a place to make extensive changes to their files before cutting.
- 2. Students must be actively watching the laser cutter at ALL times, due to the fact that the material may catch on fire.
- 3. Small flames are to be expected, however if your material catches on fire and remains on fire, immediately stop the laser cutter by opening the lid and notify the Laser Monitor.
- 4. After the part is completed, keep the lid of the laser cutter closed for 10 seconds to allow the smoke and vapors to be vented.
- 5. Clean up your workstation when you are finished. DO NOT leave materials of any kind in or around the laser cutter.
- 6. Place all recyleclable materials in the recycling bins outside the Laser Room or donate to our freecycle inventory.